Your Cart is Empty
Free pick-up available in Vancouver

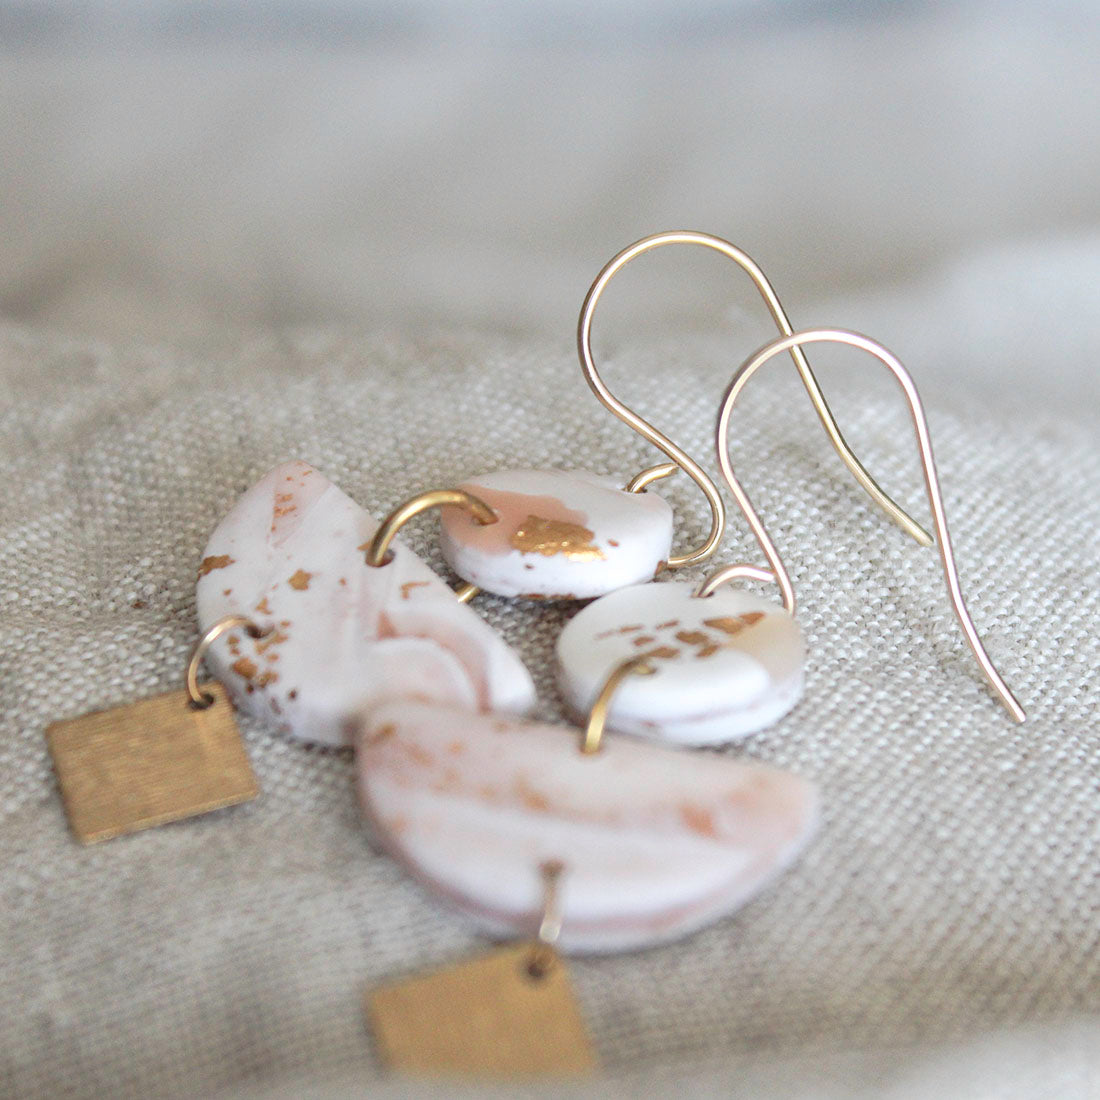
Polymer Clay is a fascinating medium to work with. The possibilities of what you can create with it are endless! It has seen a huge resurgence in popularity during the past 3 years as a medium for creating jewelry and accessories. During the Pandemic, many people were stuck at home during extended lockdowns and new hobbies were discovered; myself included. The beauty of polymer clay is it's accessibility. All you need to create with it, is a kitchen oven and a few simple tools.
If you are just getting started with this medium, I suggest purchasing Sculpey Premo or Sculpey Souffle Polymer Clay. These work really well for jewelry. After baking, the pieces should be nice and flexible and not break or crack easily. Before you start, make sure your oven is nice and clean! I made the mistake of baking my first sheet of White, polymer clay components and they came out looking like toasted marshmallows! I thought I had baked them too long - even though I had followed the package instructions. After doing some investigative research, I discovered that dirt in your oven will transfer to the clay. Whoops! I gave my oven a really good cleaning. I even soaked the metal racks in the bathtub with a dishwasher pellet to remove all the black.
Like anything, learning a new skill takes a lot of trial and error. I had many failures in my first few weeks of playing with Polymer Clay. I'm not going to lie - they were discouraging weeks! But, seeing all of the other amazing work posted by other designers out there in the world, made me determined to keep going and learning how to improve.
There are many, many steps involved in creating jewelry from Polymer Clay. These include: conditioning the clay to get it soft enough to work with. This can be done by hand with an acrylic roller or through a pasta machine. Next comes rolling out the clay to the desired thickness. Cutting out shapes with cutters or templates is next. After this step the components must be baked in an oven for 30-45 minutes. After cooling each piece must have all rough edges sanded until smooth. There are many ways to sand and smooth a component. You can use an attachment on a Dremel tool or do it by hand with different grits of sand paper. The final step is drilling holes in each component so that a jump ring can be attached if it will be connected to another piece. Whew! The final step is attaching an earring post or ear wire. I hand fabricate my own ear wires & jump rings. If you have read this far, you can see by now that's its truly a labor of love to make each piece of jewelry by hand!
My passion for designing and making handcrafted jewelry goes all the way back to my adolescence. It started with wire wrapping beach glass that I collected from the local beaches where I grew up in Victoria BC. From there it branched out into beading and later metalwork. Even while I was studying for a career in Fashion Design at Ryerson University, I was taking metal working courses at the Ontario College of art during my summer breaks. This was back in the early 1990's so I am really dating myself here!
My love affair with jewelry design took me on a year long trip to Oaxaca Mexico in 2001, where I was lucky enough to spend a year studying the ancient art of filigree design at a local municipal school. I did this year of metalsmithing completely in Spanish! Let's just say that my Spanish improved a lot during that year.
From 2003-2009 I had a small jewelry design business here in Vancouver and I sold my work to a small shop in the West End of Vancouver as well as to many of my co-workers at my office job. I was mostly working with wire wrapped gemstones during this time. I became very skilled at working with wire and chain during these years. All skills which are so very transferable to work I'm creating now.
Jewelry took a back seat in my life from 2009-2019 when I became a mom. Juggling my career as a product developer in the outdoor industry with being a parent, took up ALL of my time and mental bandwidth.
It took a Pandemic and a milestone birthday for me to really pause and think about what I wanted to spend the next few years of my life doing. With my husband's support, I left my career to pursue my dream of starting my own jewelry brand, Alma Rosa Jewelry.
Thanks for being here with me and for reading this far! There is so much more to come.


| Item | Price | Qty | Total | |
|---|---|---|---|---|
| Subtotal | $0.00 | |||
| Shipping | ||||
| Total | ||||